 Colouring Nest
How to Draw a Santa Hat: 5 Easy Steps
Santa’s hat is a floppy cone with a fluffy band and a pompom. The floppy tip is what makes it look like a real hat, so let it lean over to one side. It takes five steps and works on its own or on top of any drawing.
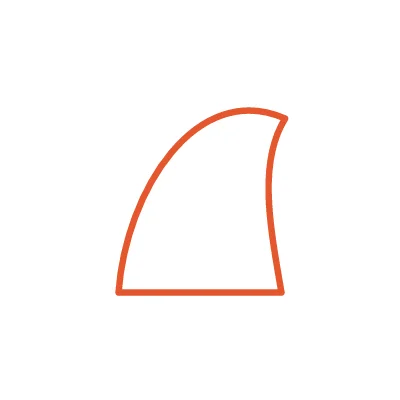
Step 1 Draw the hat: a floppy triangle that leans over to one side. 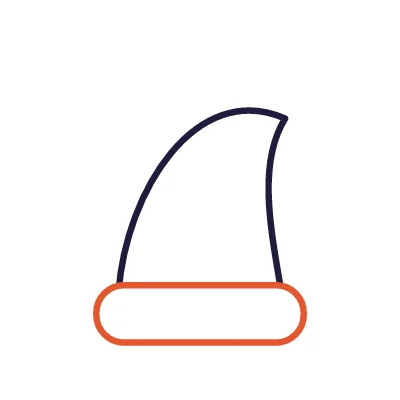
Step 2 Draw a thick fluffy band across the bottom. 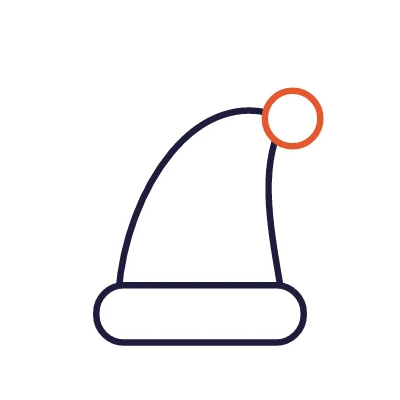
Step 3 Draw a round pompom on the tip of the hat. 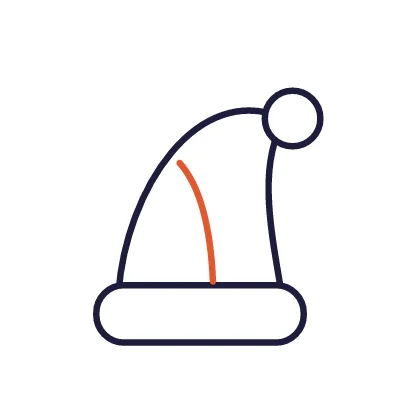
Step 4 Add a curved fold line on the hat. 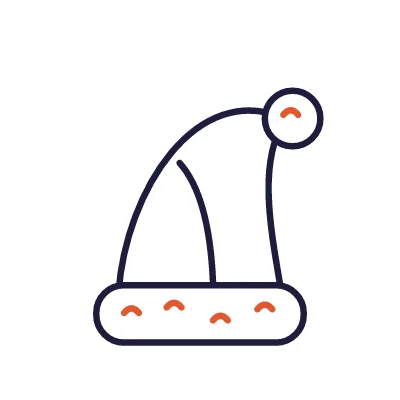
Step 5 Draw little curls on the band and the pompom so they look fluffy.
The new part of each step is drawn in orange; everything you have already drawn is in black.
Advertisement
Tips for drawing a Santa hat
- Make the band wider than the bottom of the hat, so it looks soft and fluffy.
- The pompom sits right on the tip of the hat.
- Try it on a snowman, a penguin or a polar bear from this page.
Print the step sheet
Two pages: all 5 steps with their pictures, then a big practice box with the finished Santa hat in the corner to copy.
Step sheet (A4 PDF) Step sheet (US Letter PDF)
Finished? Colour it in, or try santa hat template and santa colouring pages.
More easy drawings
 Christmas Tree
 Star
 Snowman
 Gingerbread Man
 Candy Cane
 Christmas Bauble
 Present
 Reindeer Face
 Penguin
 Polar Bear Face
 Snowflake
All how-to-draw pages · How to draw with kids: a guide for grown-ups
Advertisement