 Colouring Nest
Cutting practice worksheets in five levels
Free cutting practice worksheets in five levels, from first snips to cutting out shapes, for preschool, pre-K, kindy and Reception (ages about 3 to 6). Each level is one PDF of two pages, in A4 and US Letter, with bold dashed lines on pale grey lanes: the lane narrows as the levels go up, so every child can start where they will succeed.
Inside this set
- 5 printables
- A4 and US Letter PDFs
- Free, no sign-up
About this resource
Ages 3–6, prep, what you need and how to use it
- Ages
- 3 to 6 years (preschool, school start)
- Prep
- Print and go; cut sheets into halves or strips for the youngest.
- You’ll need
- Printer and 80 to 120 gsm paper or thin card
- Child-safe scissors (left-handed scissors for left-handers)
- Supports
- EYFS (England), EYLF (Australia), Te Whāriki (NZ), ELOF (US)
How to use it in the room
- Start one level below where you think a child is.
- Show the grip: thumb in the top hole, elbows in, the helping hand holds and turns the paper.
- Keep the pieces for a collage, a paper chain or a mobile.
Show resources for
Remembered on this device only. It sets A4 or US Letter as the first download.
How to use the levels
Start one level below where you think a child is. Success first builds the confidence to keep going; a sheet that is too hard teaches a child that they “can’t cut”. Most three-year-olds start at level 1 or 2; many five-year-olds can go straight to level 3 or 4. Print on 80 to 120 gsm paper or thin card so the sheet does not flop, and cut the pages into halves or strips for the youngest.
- Grip: thumb in the top hole, fingers in the bottom; elbows in; the helping hand holds and turns the paper.
- Left-handers: left-handed scissors, and turn the page upside down on straight-line pages so the scissors start on the right.
- Black and white: the lanes are pale grey and the art is outline only, so the pages copy well and use little toner.
Level 1: Snip strips
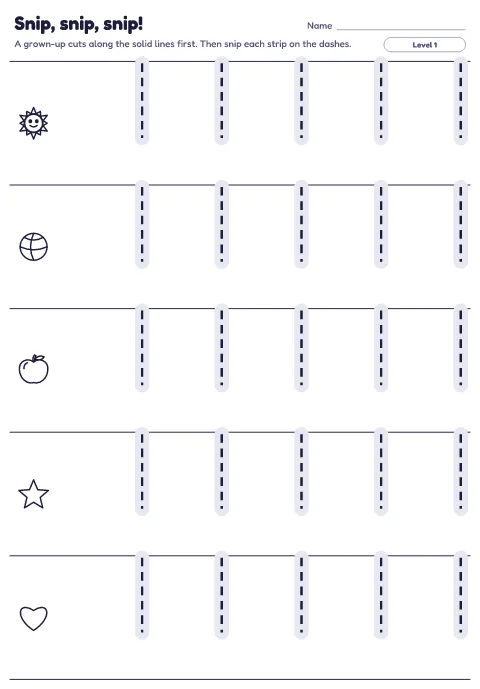
For children who are just learning to open and close scissors. A grown-up cuts the page into strips on the solid lines; the child holds one strip and makes one snip on each dashed line. Page 1 has five wide strips with wide lanes; page 2 has six strips with more, smaller snips. Every snip makes a piece, which is the reward.
Level 2: Straight lines
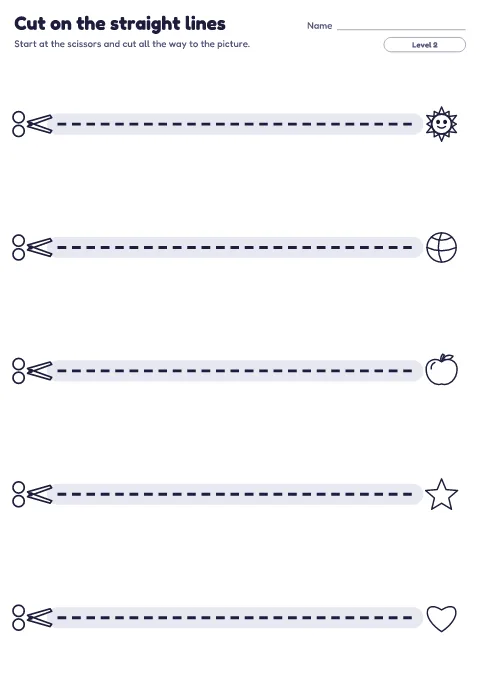
Long straight lines from our scissors drawing to a picture (a sun, a ball, an apple). Page 1 has five thick lines on wide grey lanes, so a wobble still counts; page 2 has thinner lanes and some lines that slope downhill, which is harder than it looks.
Advertisement
Level 3: Zigzags and waves
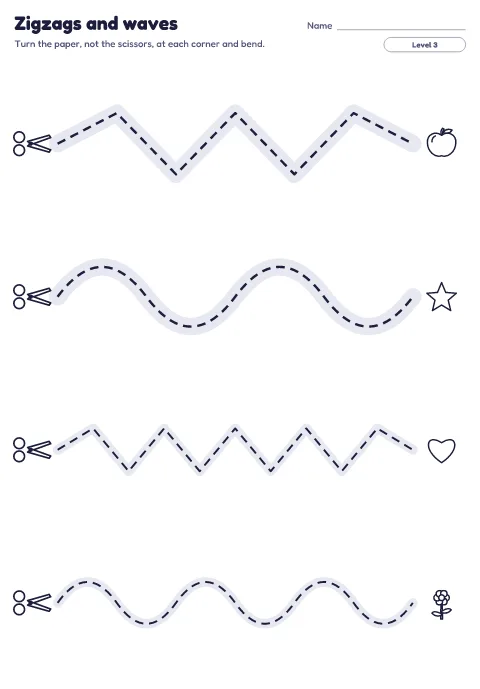
Zigzags, waves and steps. Each page goes from big shapes at the top to smaller, faster changes at the bottom. Teach the trick of turning the paper with the helping hand at each corner while the scissors keep facing forward.
Level 4: Curves and spirals
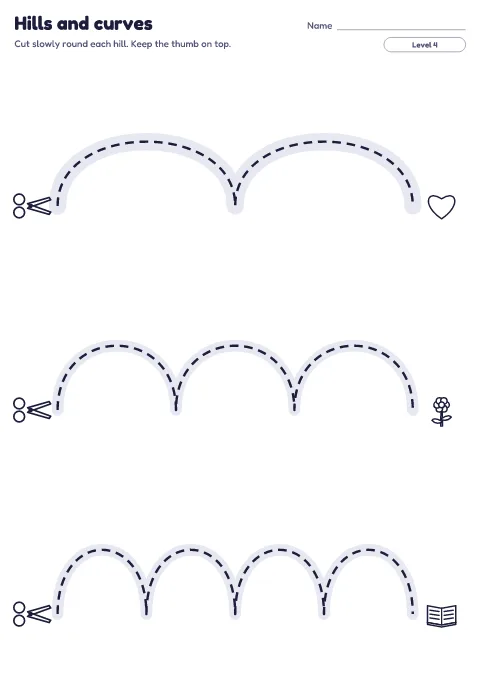
Hills that curve up and over, then a spiral snake on page 2: cut from the scissors round and round to the snake’s head in the middle and you end up with a curly snake to hang up.
Level 5: Cut out shapes
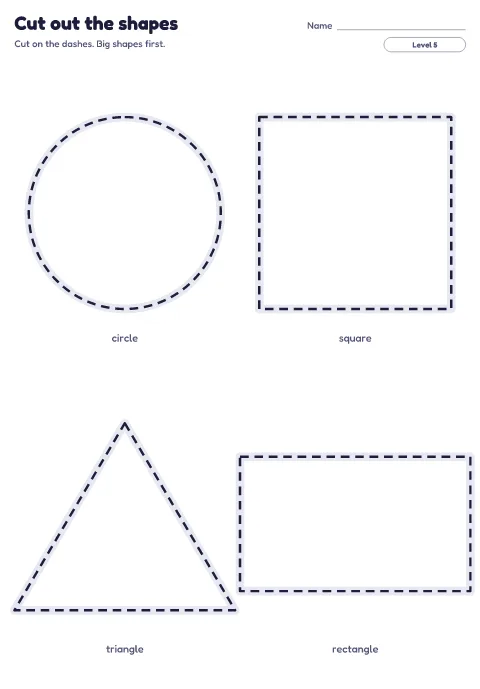
Eight shapes to cut out on two pages: circle, square, triangle and rectangle, then star, heart, house and diamond. Cut the page in half first so each shape is easier to hold. Glue the shapes into a picture afterwards.
After cutting
Keep the pieces. Snipped strips become a collage, straight-line strips become a paper chain, the spiral snake hangs from the ceiling and the shapes make a robot or a house. Cutting feels more worthwhile when it is for something.
Supports:
- EYFS England
- Physical development
- EYLF Australia
- Outcome 3: Children have a strong sense of wellbeing
- Te Whāriki NZ
- Exploration | Mana aotūroa
- Wellbeing | Mana atua
- ELOF US
- Perceptual, Motor, and Physical Development
More fine motor printables: tracing lines and pre-writing patterns, playdough mats, letter and number tracing, dot to dot, handwriting paper, and the fine motor guide.
Related sets
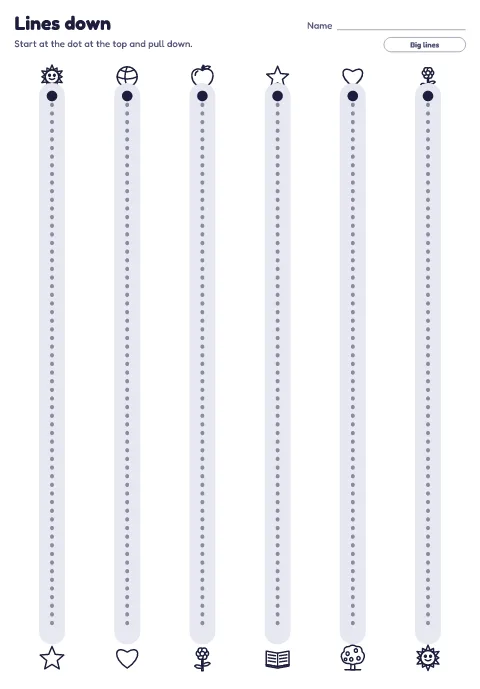 Tracing lines and pre-writing patternsWorksheets · ages 3–6
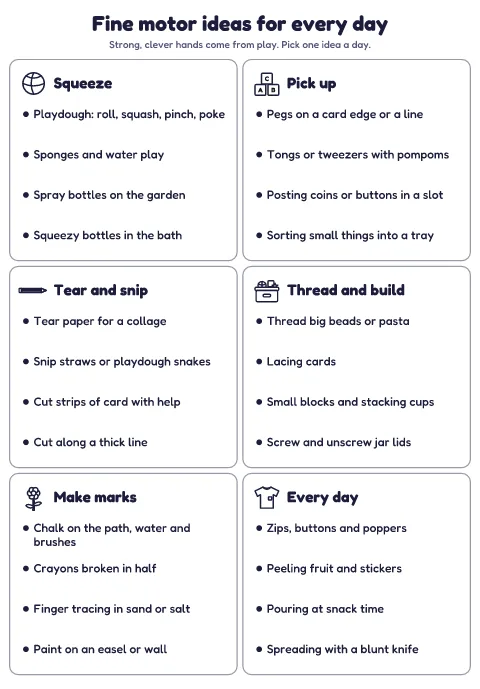 Fine motor ideas poster and guideGuides · ages 2–6
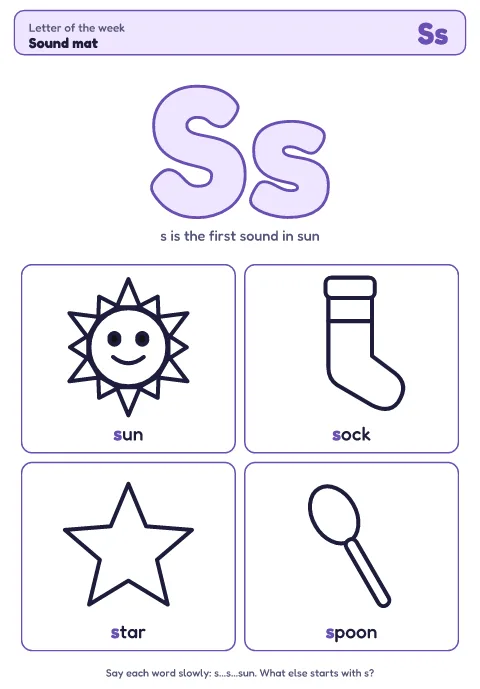 Letter of the week packs A to Z with letter formationWorksheets · ages 3–6
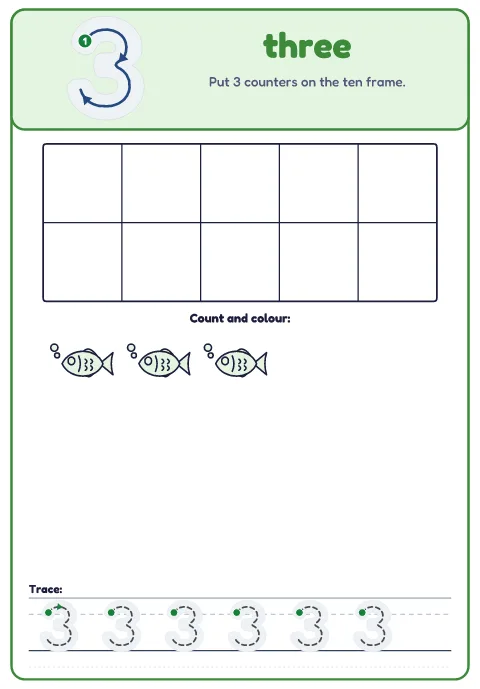 Counting mats 1 to 20 and number formation rhymesWorksheets · ages 3–6
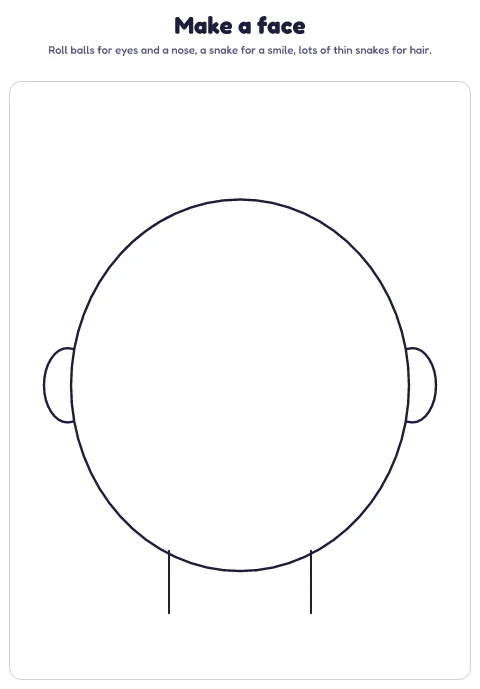 Playdough mats: pictures and numbers 1–10Displays and charts · ages 2–6
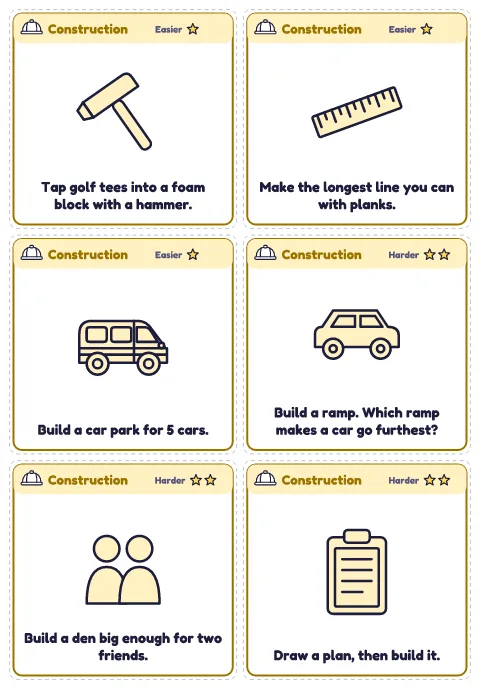 Continuous provision challenge cards for 10 play areasCards · ages 3–5
Questions
At what age can children start cutting practice?
Many children start snipping with help at around three, and can cut along a straight line at four or so; children vary a lot. Start with level 1 snips whatever the age, and move up when it is easy.
What paper is best for cutting practice?
Thin card or thick paper (80 to 120 gsm). Very thin paper folds and tears in small hands; card is easier to hold and cut.
Do you have cutting practice for left-handed children?
The same sheets work: use left-handed scissors, and turn straight-line pages upside down so the cut starts on the right. Curves and shapes work either way.
Can I use these in my class or setting?
Yes, free for your own class, setting or family. Please don’t resell them or upload them to another site.