 Colouring Nest
Happy Diwali Bunting
- Ages 3+
- Easy
- 27 pages
- Template
- Free PDF: Letter & A4
Free PDF. No account needed.


No ratings yet
Tip: tap a colour, then a shape to fill it (arrow keys and Enter work too). It saves on this device.
Up nextBunting Template: Blank Flags and A to Z Letters →Advertisement
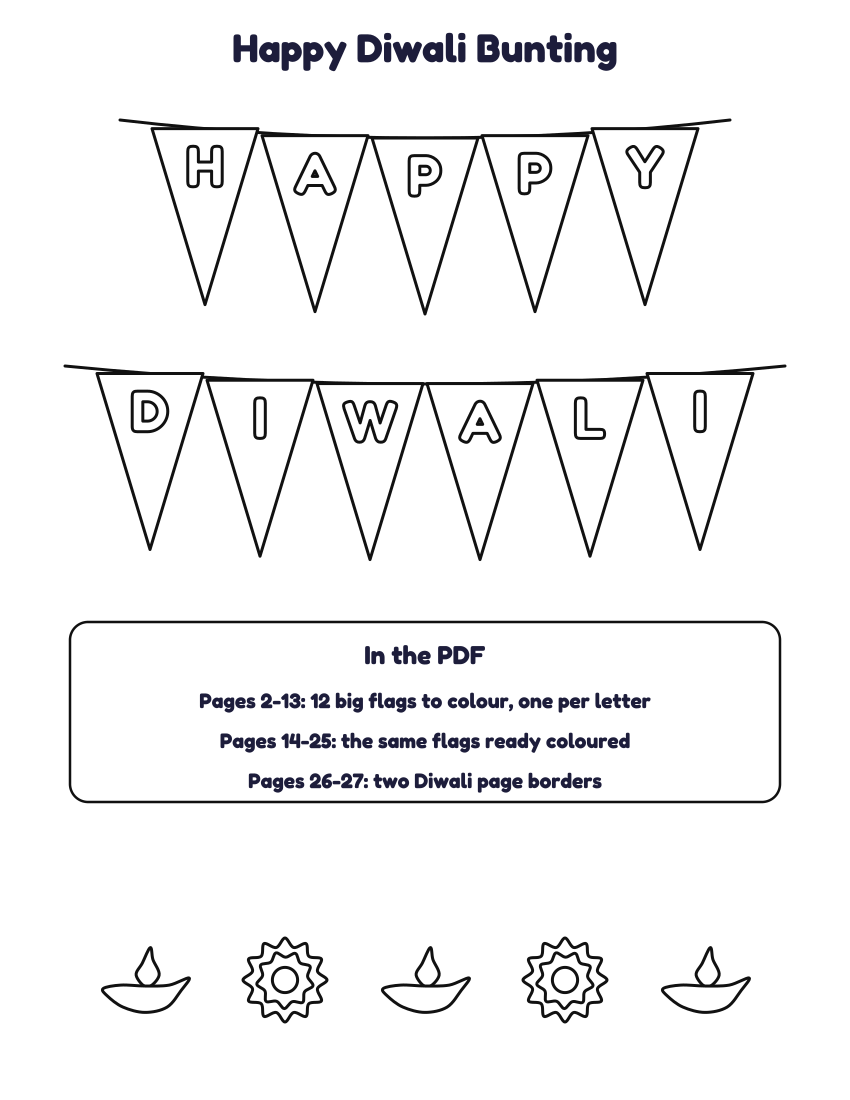
Happy Diwali bunting for a classroom display, a front window or a party: 11 flags, one big bubble letter on each, with a Diwali picture flag between the words. Every flag fills a page (6.25 x 8.25 in on US Letter (16.5 x 22 cm on A4)), with punch holes and a fold-over strip for the string. Colour the letters online or on paper, or print the ready-coloured set; two matching Diwali page borders for writing and display work are at the end of the PDF. Made for Diwali (29 October 2027).
What is in the PDF
The flags in order: H A P P Y ★ D I W A L I (★ is a picture flag between words). Each flag is 6.25 x 8.25 in on US Letter (16.5 x 22 cm on A4). Print only the pages you need: the page numbers are on the picture above.
Hang it with a row of paper lanterns for the festival of lights. The page borders work for writing, poems, drawings and display titles.
Also for diwali: Diwali Lantern Template · All classroom display bunting, borders and crafts
How to make the happy diwali bunting
You need a printer, scissors, colouring pens or crayons, string or ribbon and a hole punch or tape.
- Print. Print the flags at 100% (Actual size) on paper or thin card; the check bar on each page should measure 1 inch on Letter or 2 cm on A4.
- Colour. Colour the letters and pictures, or print the ready-coloured pages. One child per flag works well for a class.
- Cut. Cut along the solid outline of each flag.
- Hang. Punch the two holes and thread string or ribbon through, or fold the top strip over the string on the dashed line and tape it down.
- Space. Leave a small gap between flags and a picture flag between words, then pin the ends of the string to the wall or a display board.
Advertisement
More printable templates


Seasonal: Diwali Coloring Pages
You might also like


Printing tips
- Print at 100% (actual size) so the shapes match the sizes listed.
- Thin card (160–200 gsm) makes sturdy stencils and decorations.
- Fold the paper and cut two layers at once for matching pairs.
- Paper snowflakes are the exception: use thin printer or origami paper, because every cut goes through 12 layers.
Advertisement